Modern AI tools can dramatically improve segmentation accuracy and speed. In this section, you’ll learn to use two powerful tools: Labkit for pixel classification and StarDist for nucleus segmentation.
Setup: Install AI Update Sites
Before starting, install the required update sites:
Go to Help > Update
Click Manage Update Sites
Activate these update sites:
CSBDeep
StarDist
Labkit
Tensorflow
Click Close and Apply Changes
Restart FIJI
Download Example Images
Download the example images from: Example images
The folder contains 4 images:
2 images of cells treated with IR (irradiation)
2 control images
Goal: Quantify the number of foci using pixel classification, then segment nuclei using a neural network.
Labkit: Pixel Classification
Labkit uses machine learning to classify pixels based on examples you provide.
1. Prepare the Image
Open one of the example images
Split the channels
Select the channel with foci
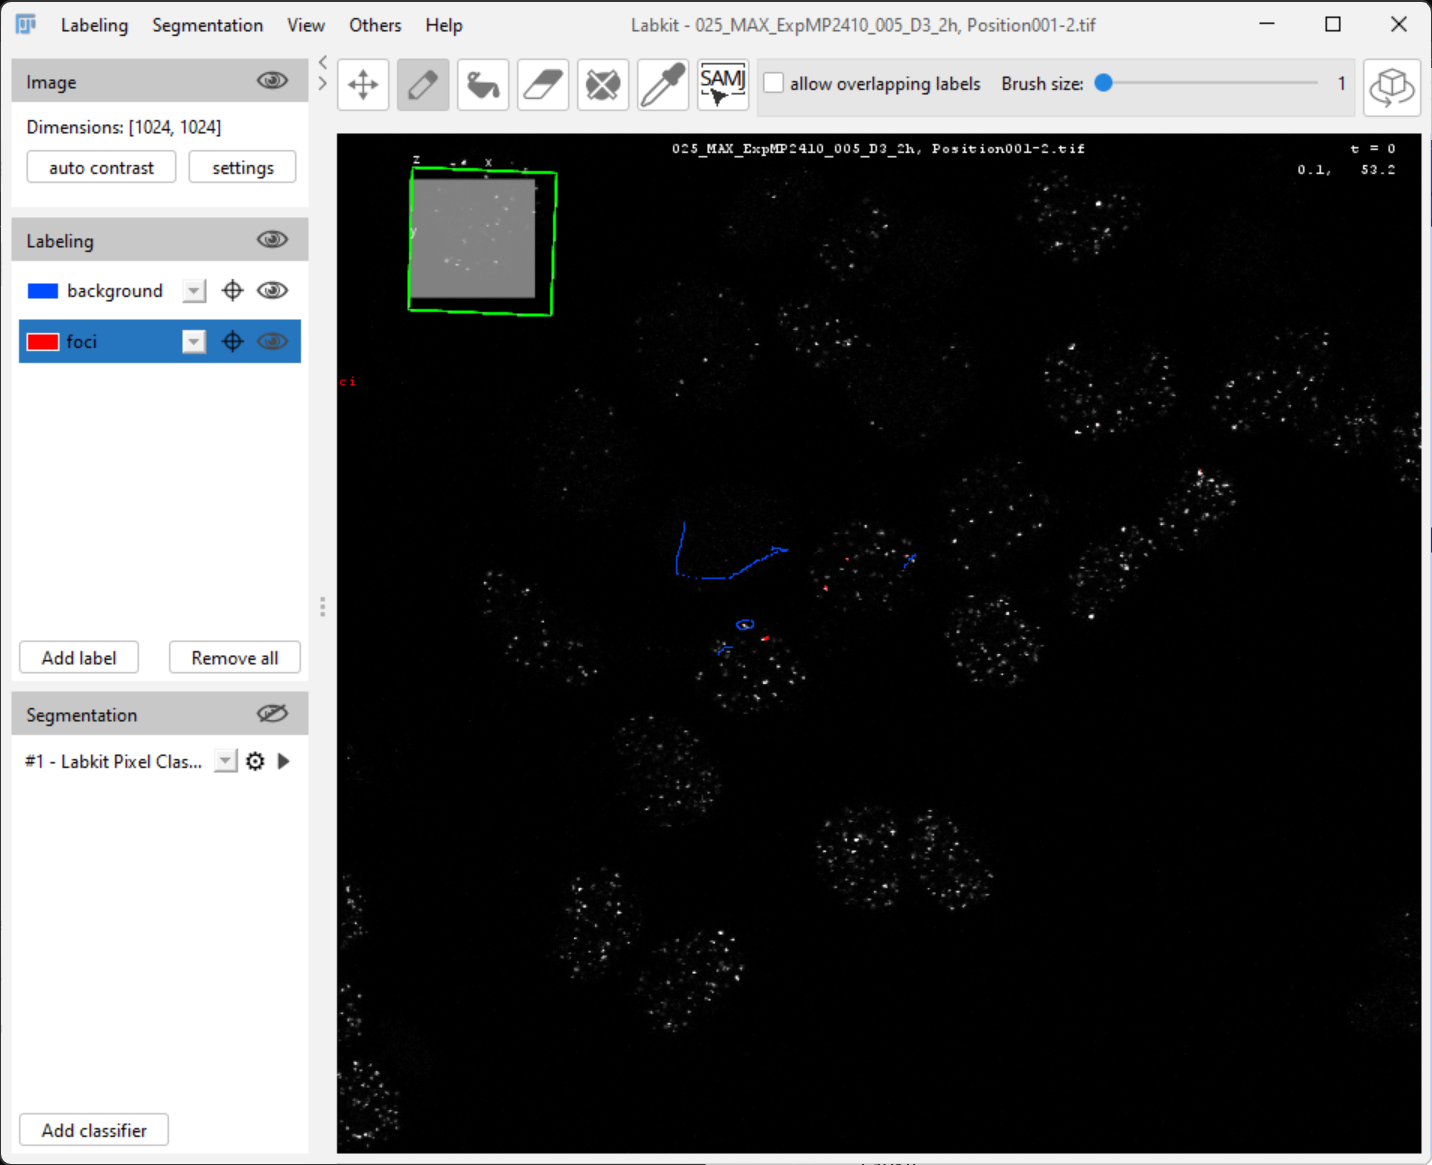
2. Open Labkit
Go to Plugins > Labkit > Open current image with Labkit
(Usually found at the bottom of the menu)
3. Define Classes
In the Labeling panel, rename “foreground” to “foci”
Keep “background” as is
4. Create Annotations
Select the pencil tool
Switch between “foci” and “background” labels
Draw a few annotations for each class:
Mark some foci with the “foci” label
Mark some background regions with the “background” label
5. Train the Classifier
In the menu, select Segmentation > Labkit Pixel Classifier
Click the Play button to run the classification
You’ll see the predicted classification overlaid on your image.
6. Refine the Classifier
If the classification isn’t perfect:
Add more annotations where mistakes occur
Run the classifier again
Repeat until satisfied
7. Export the Result
Create a binary image based on your classifier:
Segmentation > Show segmentation result in ImageJ
8. Save the Classifier
Go to Segmentation > Save classifier
Choose a location and filename
Close the Labkit window
9. Apply to New Images
Open another image (from untreated cells)
Split channels and select the foci channel
Open with Labkit
Load your saved classifier: Segmentation > Load classifier
Export the segmentation to ImageJ
The classifier trained on one image can now segment foci in other images automatically.
StarDist: Deep Learning Nucleus Segmentation
StarDist is a pre-trained deep learning model specifically designed for nucleus segmentation.
More information: https://
1. Open Nucleus Channel
Select the image from the nucleus channel (DAPI or similar staining).
2. Run StarDist
Go to Plugins > StarDist > StarDist 2D
Click Restore Defaults to ensure proper settings
Click OK
3. Evaluate Results
Does StarDist segment all nuclei properly?
Look for:
Over-segmentation (one nucleus split into multiple)
Under-segmentation (multiple nuclei merged)
Missed nuclei
4. The Importance of Scale
StarDist was trained on images where nuclei have a specific size range. Let’s test this:
Duplicate the nucleus image: Image > Duplicate
Resize the image: Image > Adjust > Size
Change from 1024×1024 to 256×256 pixels (4× smaller)
Run StarDist again
5. Compare Results
How well does StarDist work on the resized image compared to the original?
Combining Labkit and StarDist
For a complete analysis workflow:
Use StarDist to segment nuclei
Use Labkit to segment foci
Combine both segmentations to:
Count foci per nucleus
Measure nuclear intensity
Quantify foci distribution